Quick Start
This section will guide you through the basic usage of CHITUBOX helping you to get started quickly. We will start by loading a model, and then add supports, slice the model, and finally export the printable file to your printer.
Add a printer
You will need to add the printer you need when you first launch CHITUBOX. Taking ELEGOO Jupiter as an example: click the plus button on the machine management bar, and select ELEGOO Jupiter from the list.
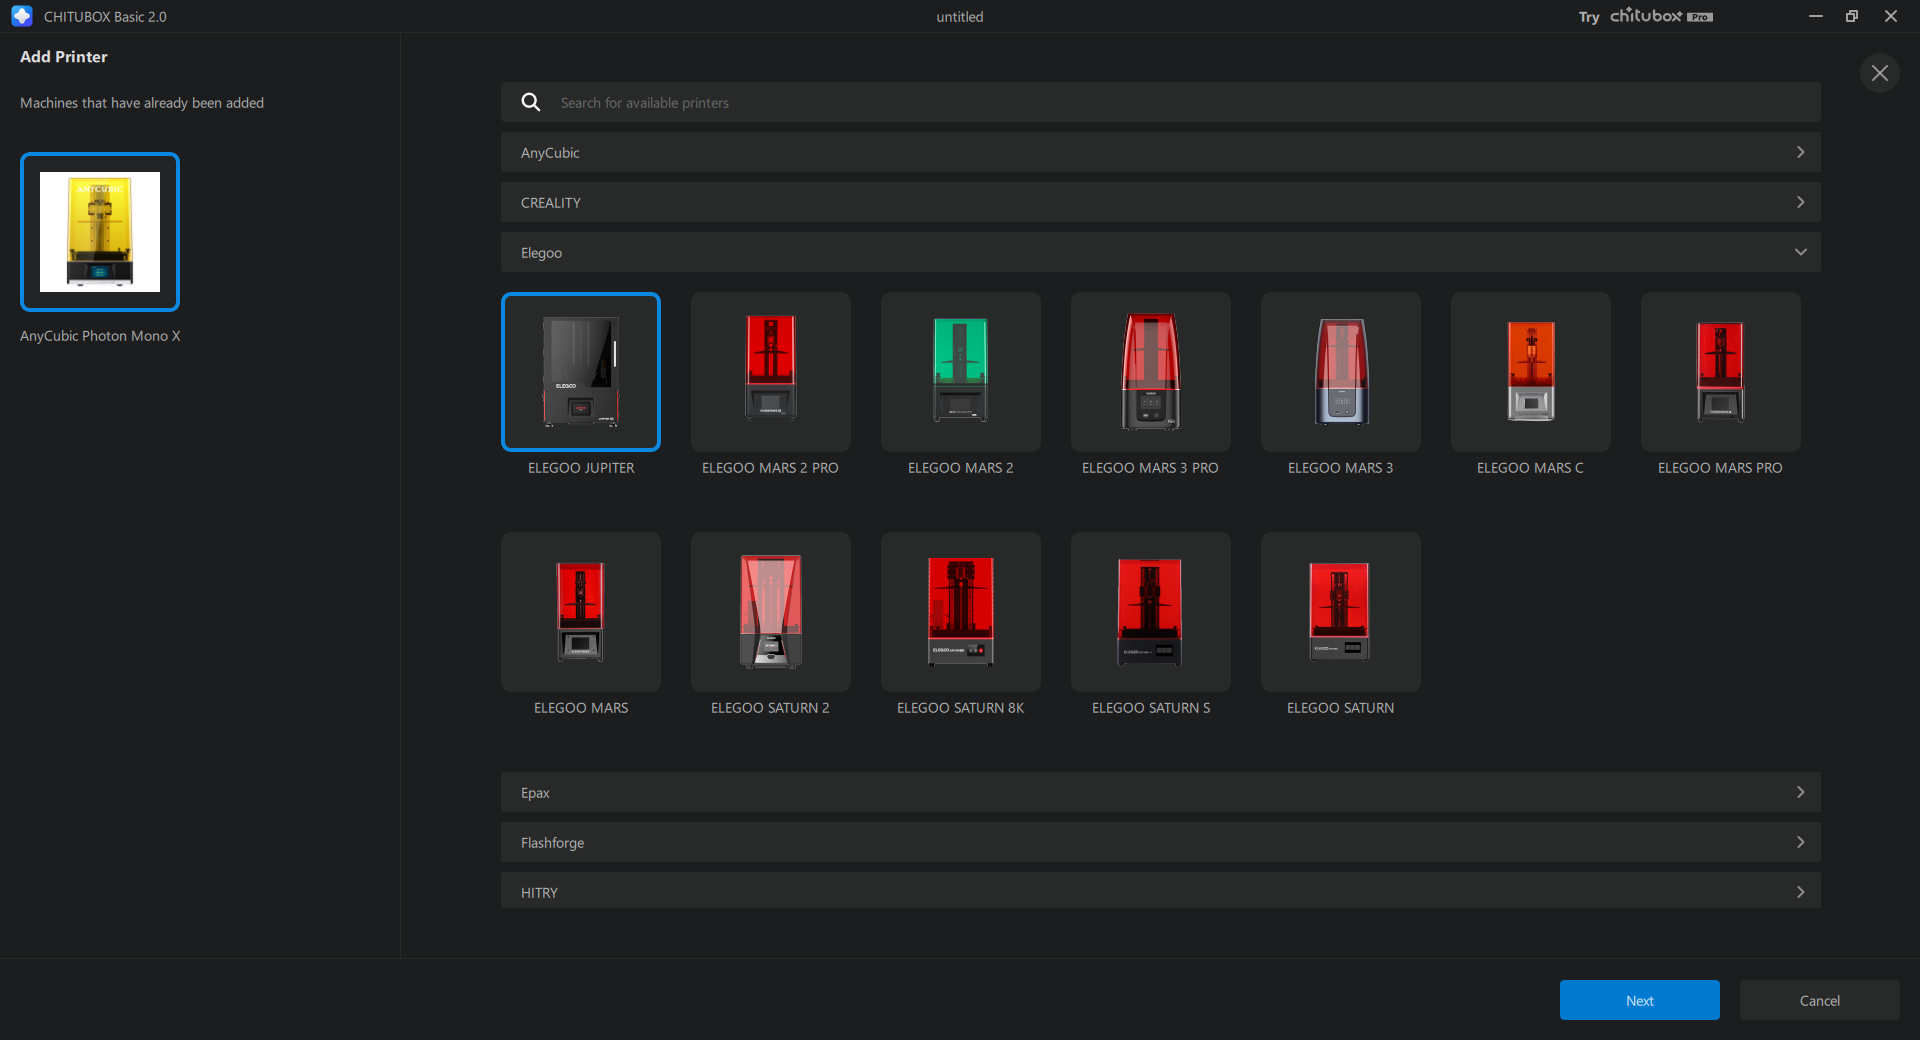
Click "Next".
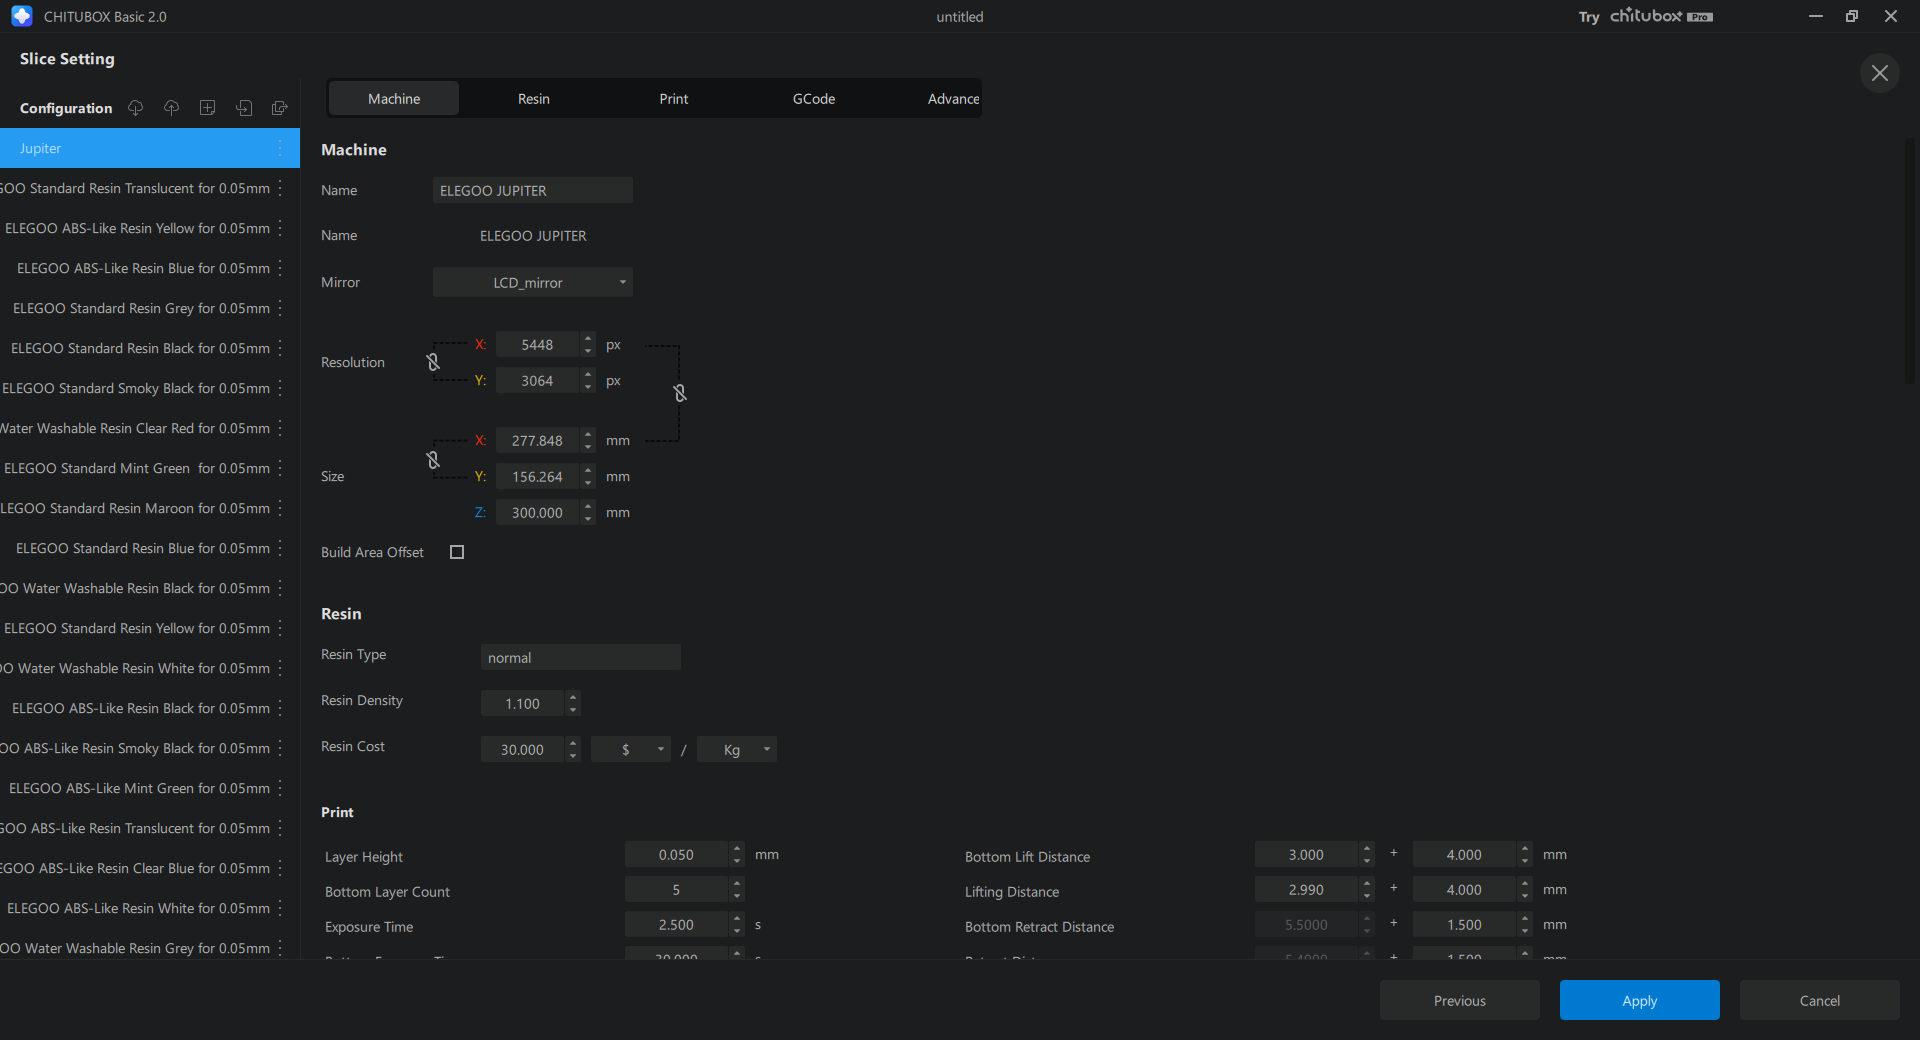
Here you can change the configurations of the printer. We will use the default settings for convenience. Click "Apply".
Never change the Resolution and Size of a preset printer configuration as it may cause the printer to report an error when reading the file.
Load Files
You can load existing files into CHITUBOX via the dialog window or by dragging and dropping the file into CHITUBOX. Let's try opening a file through the dialog window.
Click the menu button on the upper left corner of the main window. If you want to load up an existing project, click Open Project. If you want to open a 3D mesh file instead, click Open.... You can click 🔗this link to see the supported 3D mesh file types.
Select a 3D mesh file you want to slice from your computer.
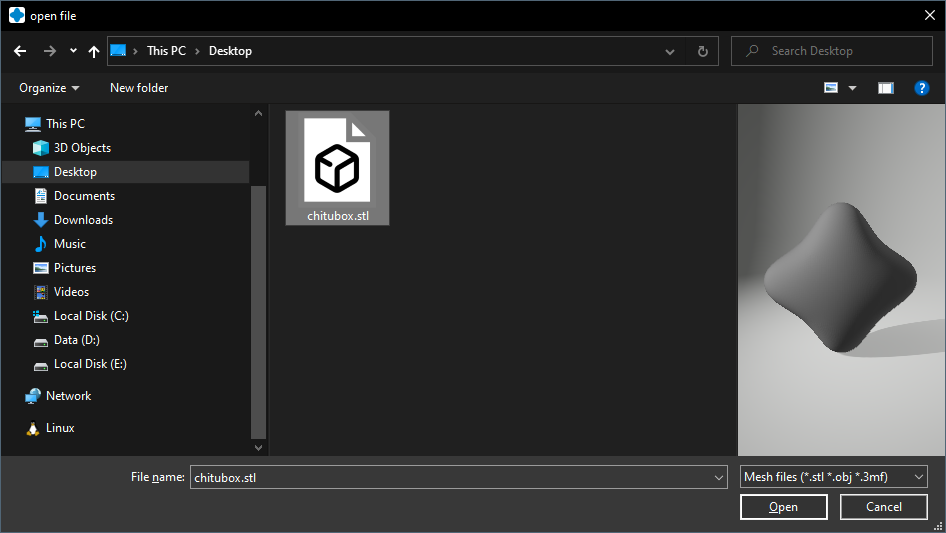
Click "Open".
Add Supports
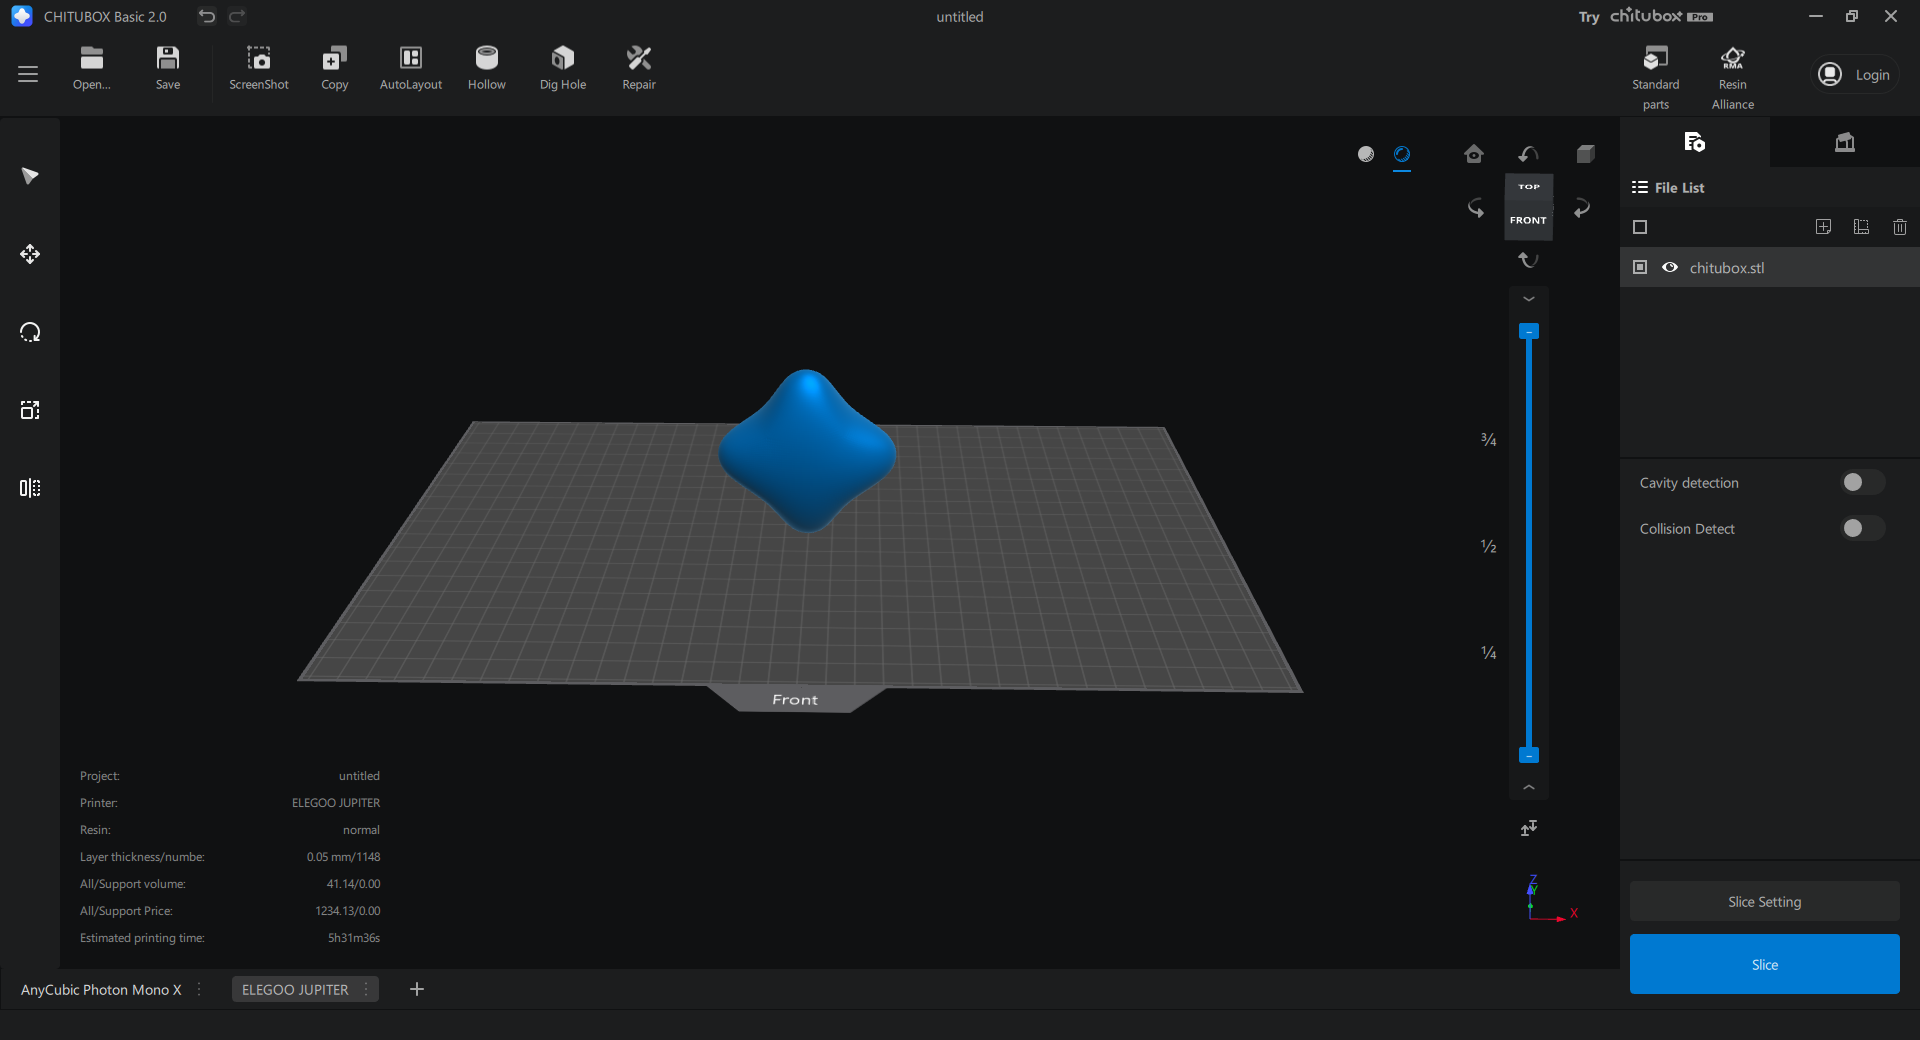
Without supports, a model will likely fail to print successfully with only a single point on the build plate. And the model will be very unstable state as the model's center of gravity is above the contact point. Click the support icon on the upper right corner of the main window to enter the support configuration window.
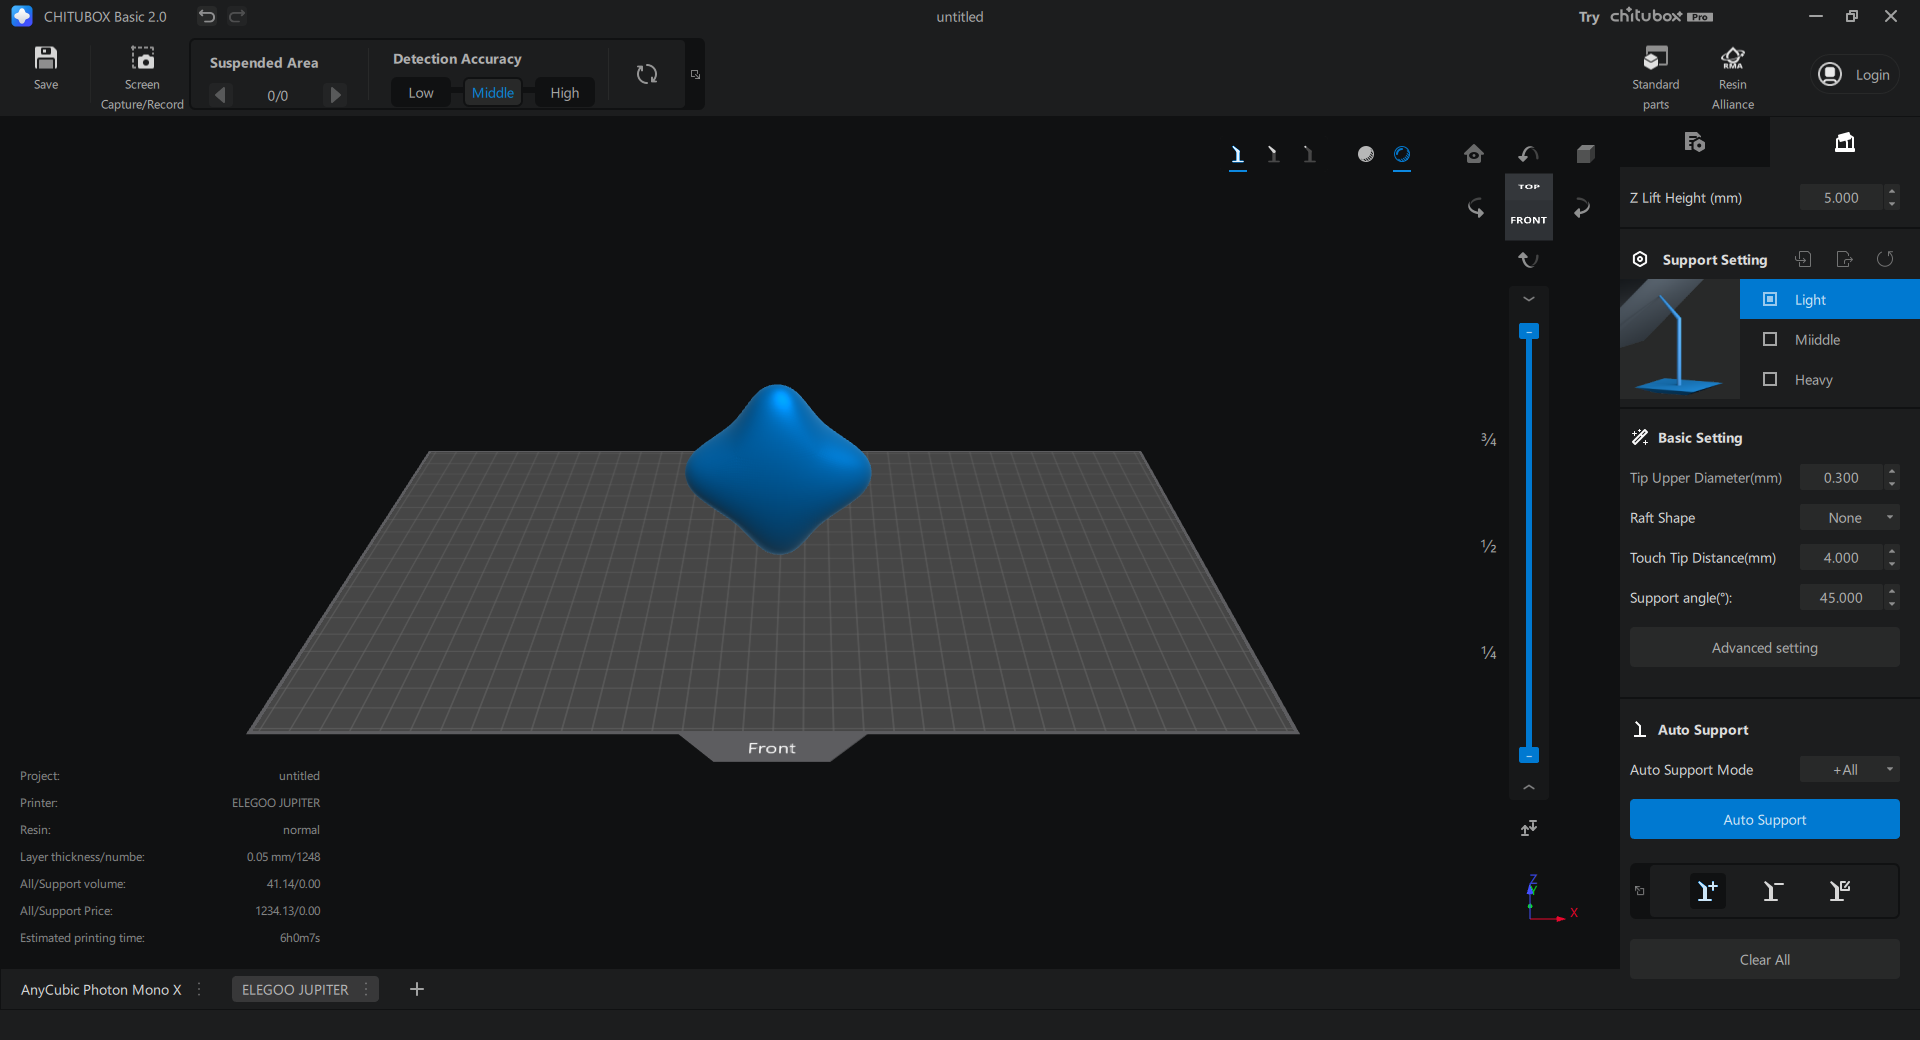
We will use auto-support here for simplicity. Click the "Auto Support" button.
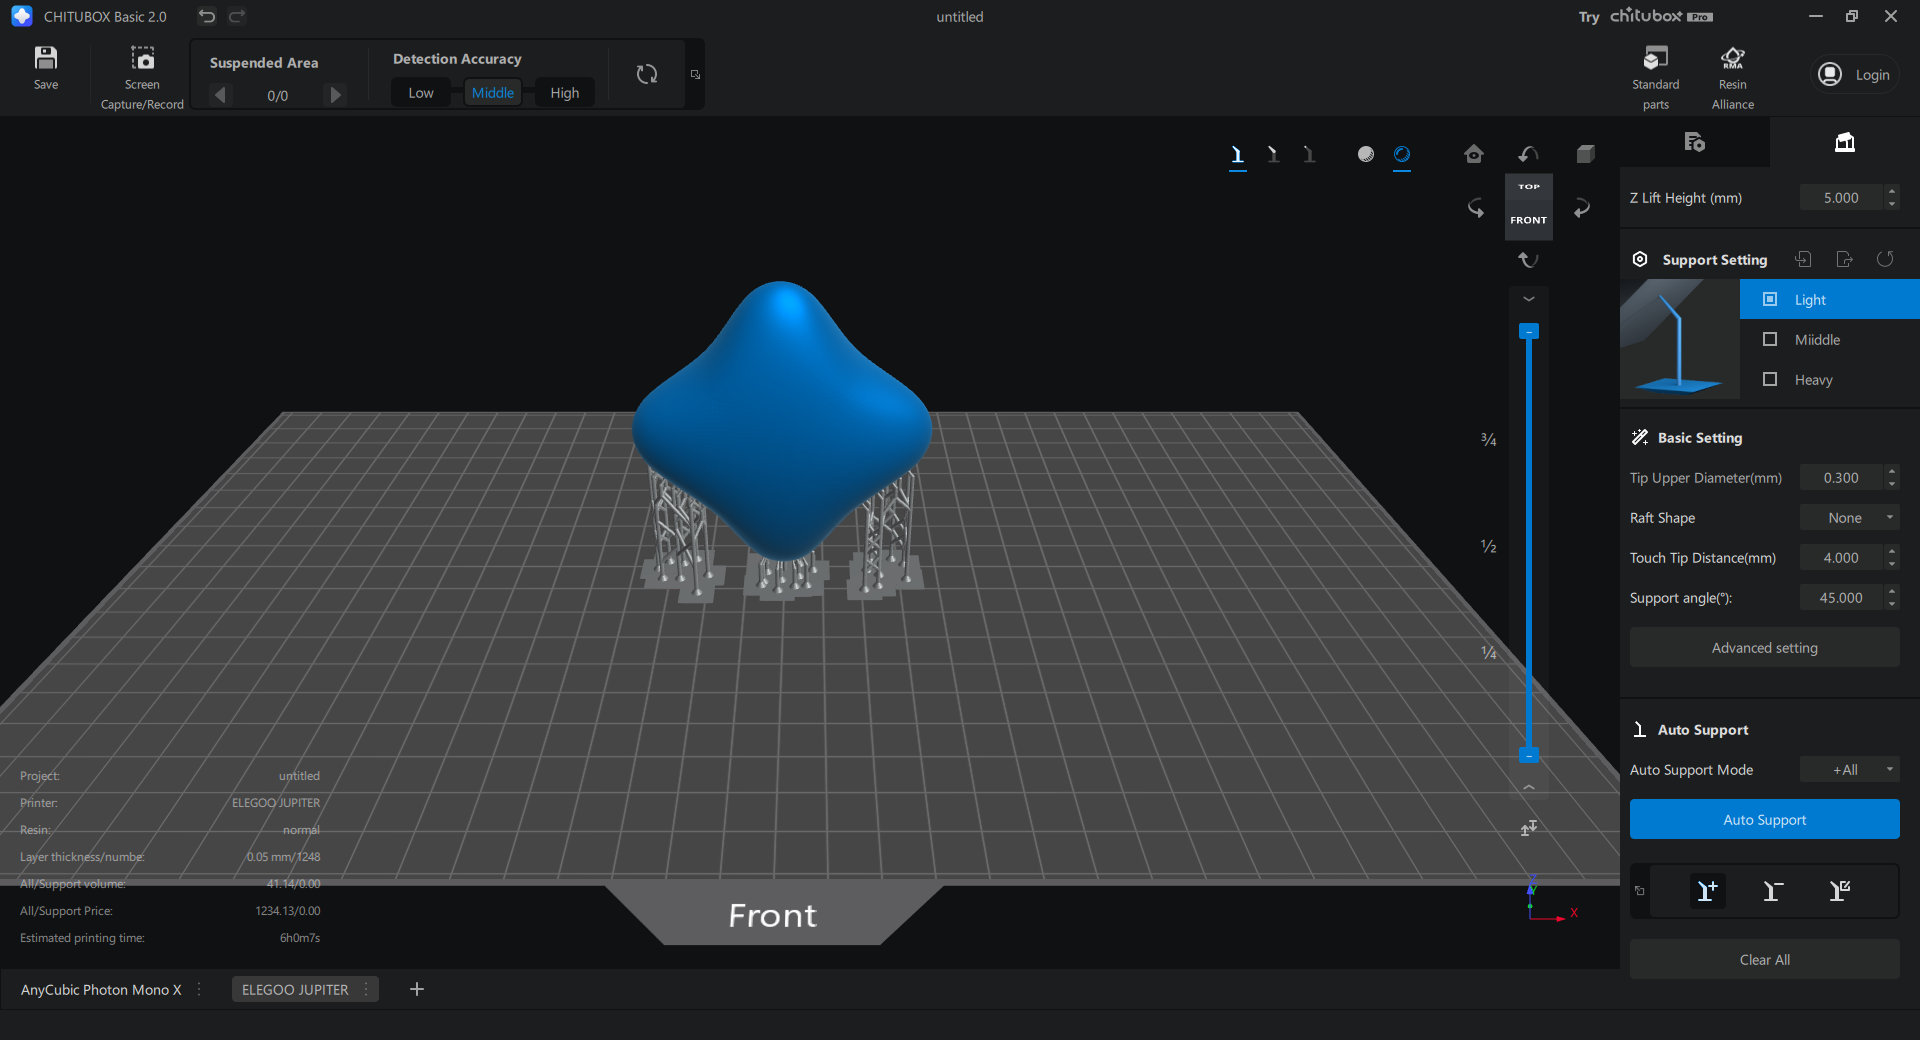
Great! Now we're can go ahead to slice the file.
Slicing
Click the file configuration button in the upper right corner to get back to the main window.
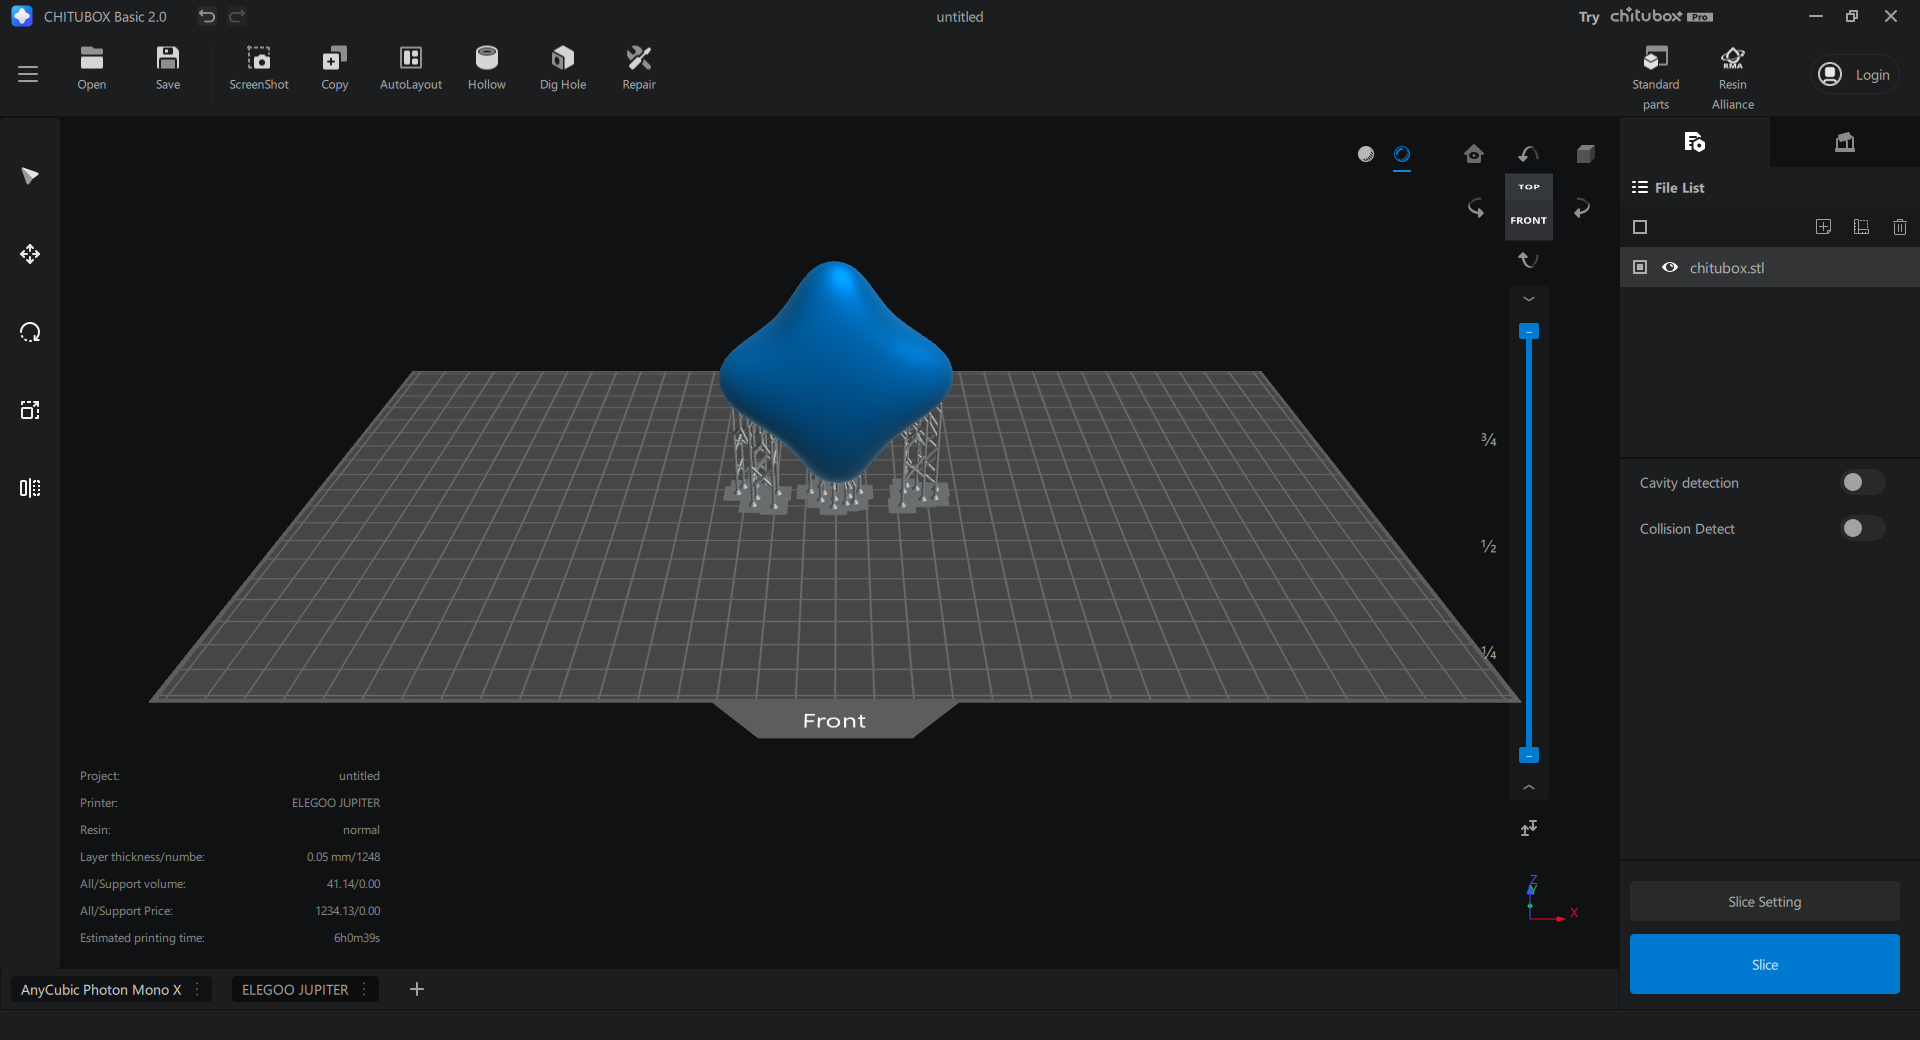
Then click the "Slice" button in the lower right corner to slice the file. This process takes some time, depending on the size of the model and the complexity of the supports.
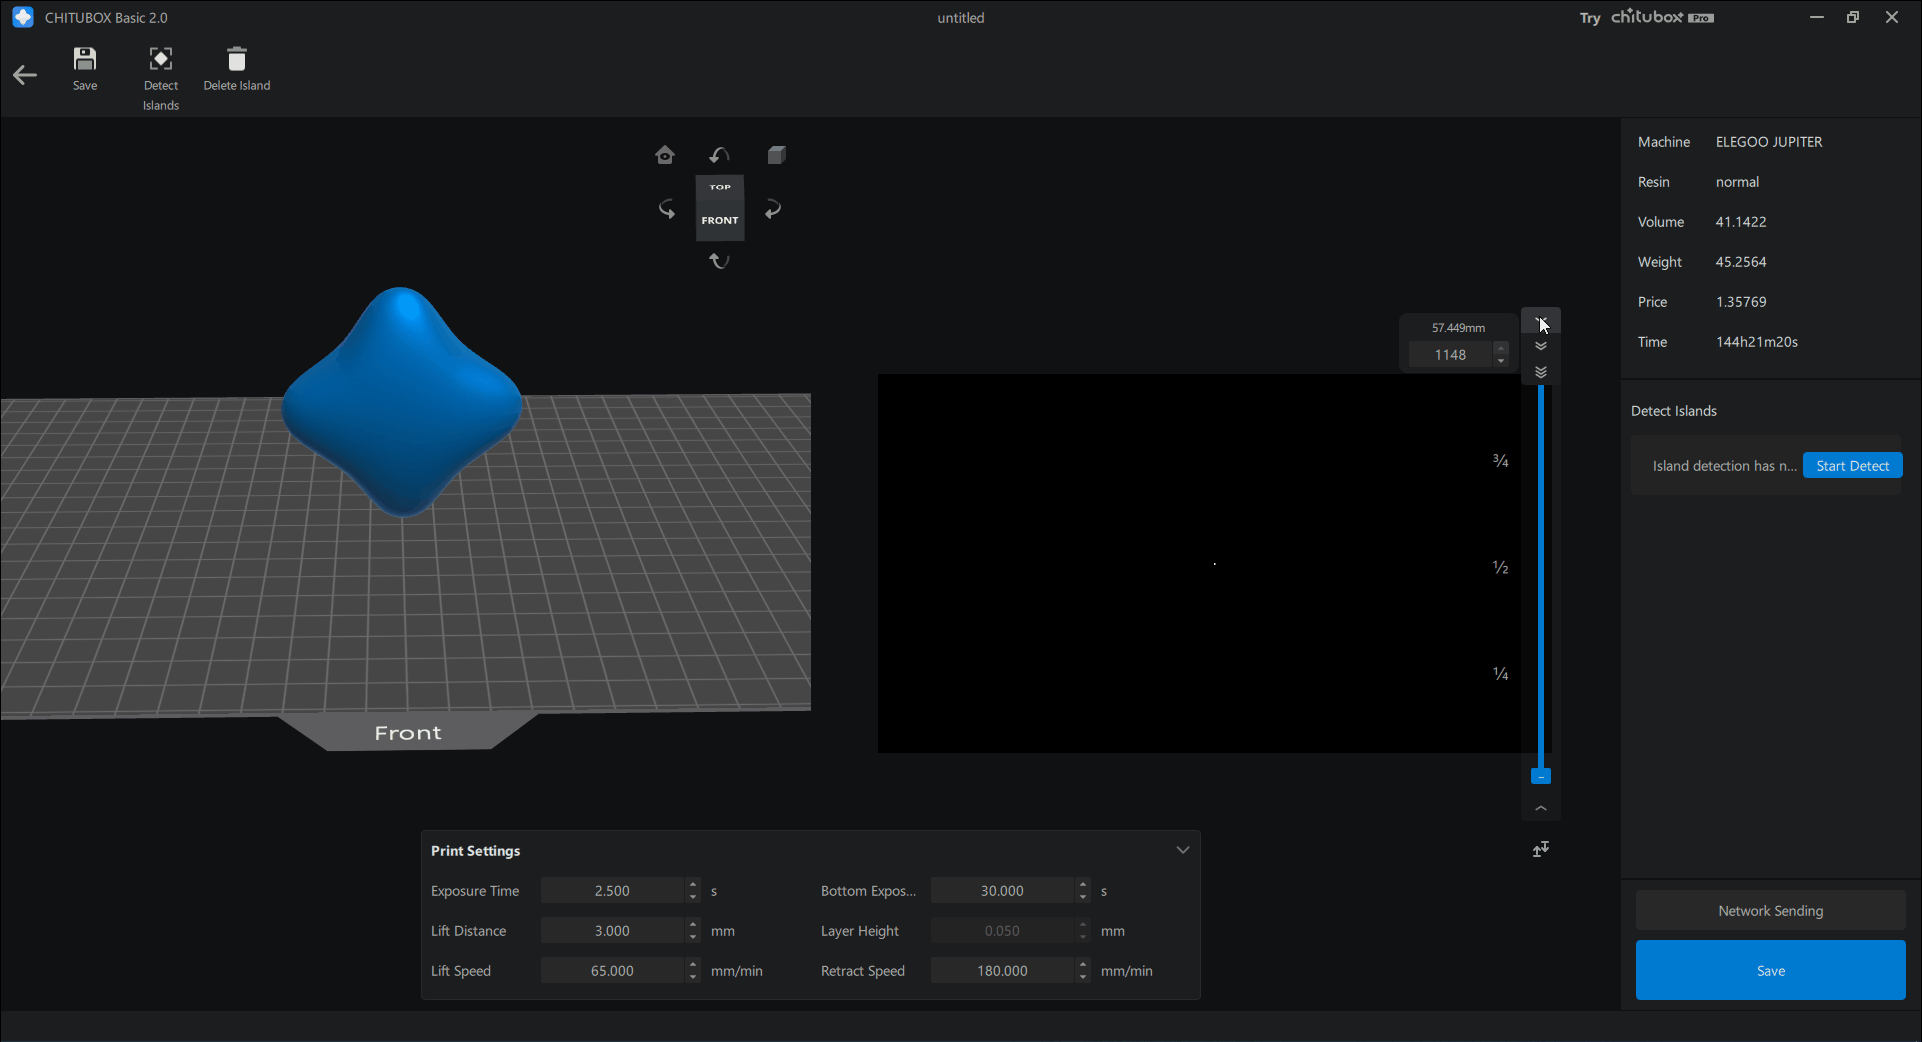
Exporting the Printable File
This is the final step. Click the "Save" button in the lower right to open up the save slice file window.
Please do not save the sliced file directly to the USB drive as it may cause file errors. The recommended workflow is to first save the file to your computer's hard drive, and then copy the file to the USB drive.
Also, it is highly recommended to load the sliced file back to chitubox and preview the file before printing large models. Visually checking model errors can help save time and resin wasted from printing a corrupted file.
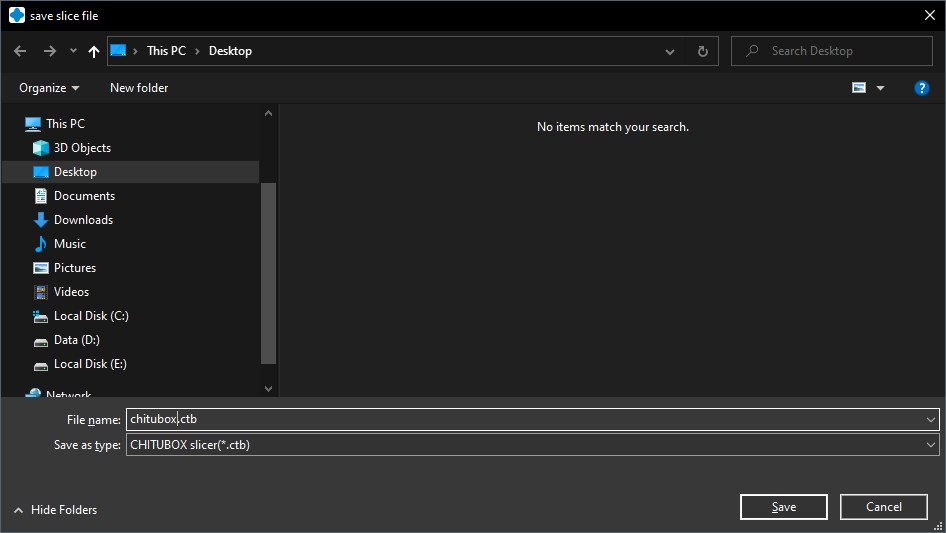
Here you can name the file and choose where to save the file. Make sure to select the .ctb format in the "Save as type" dropdown menu. Click "Save" to save the file. And then copy the file to your USB drive.
Congratulations, you have completed the CHITUBOX basic tutorial. Have fun printing! 🎉🎉🎉