Network Sending
- Some printers may require a USB drive to store sliced files if internal storage is not supported.
- Network sending requires the printer and the computer to be under the same local area network (LAN).
- The transmission speed is limited by printer's network module. Most printers limit the transimission speed to 8M/s. Large files are not recommended for Network Sending.
- Only some printers support Network Sending. Read the 📃full compatibility list here.
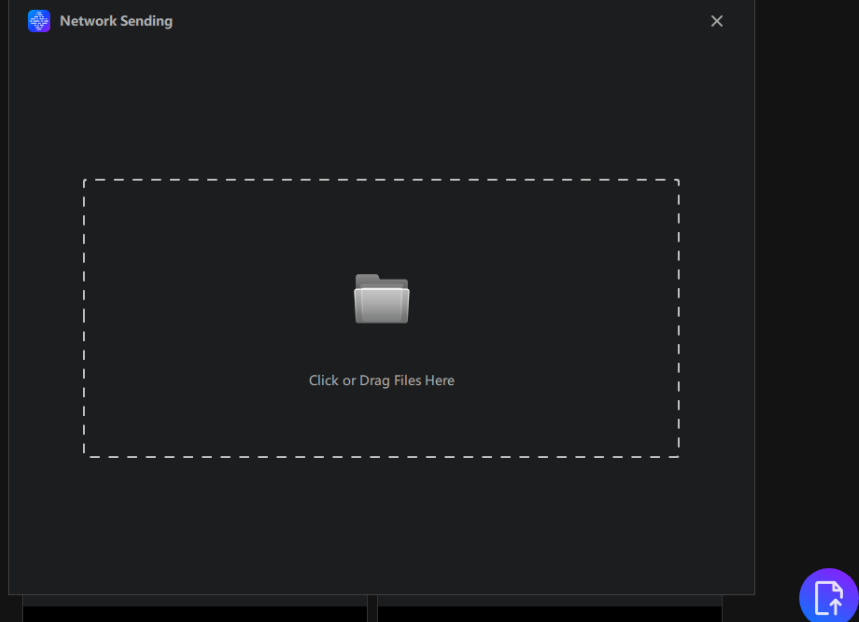
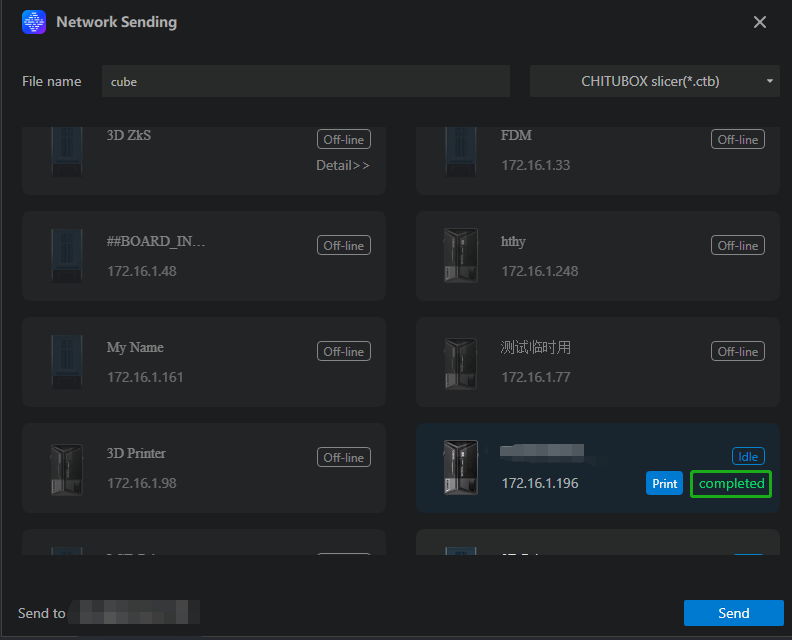
After slicing your model, click the "Network Sending" button to open the network sending window.
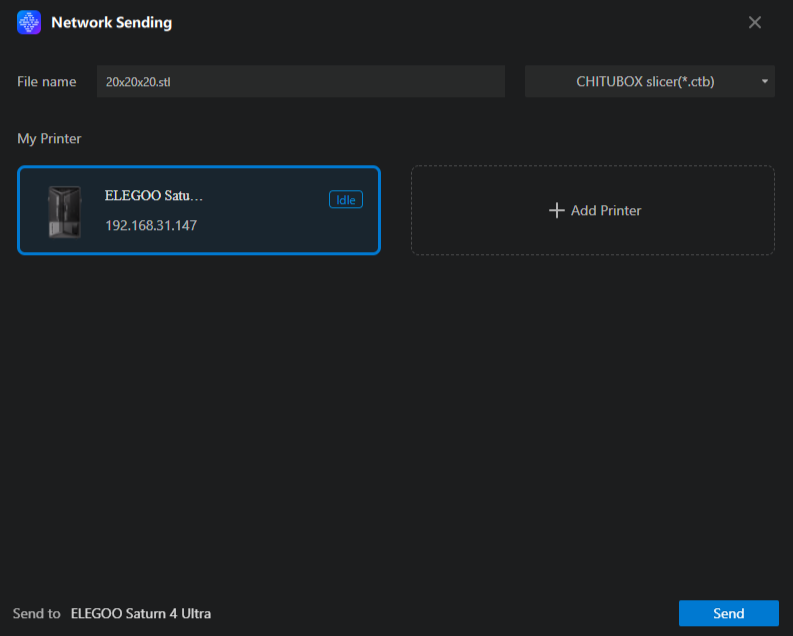
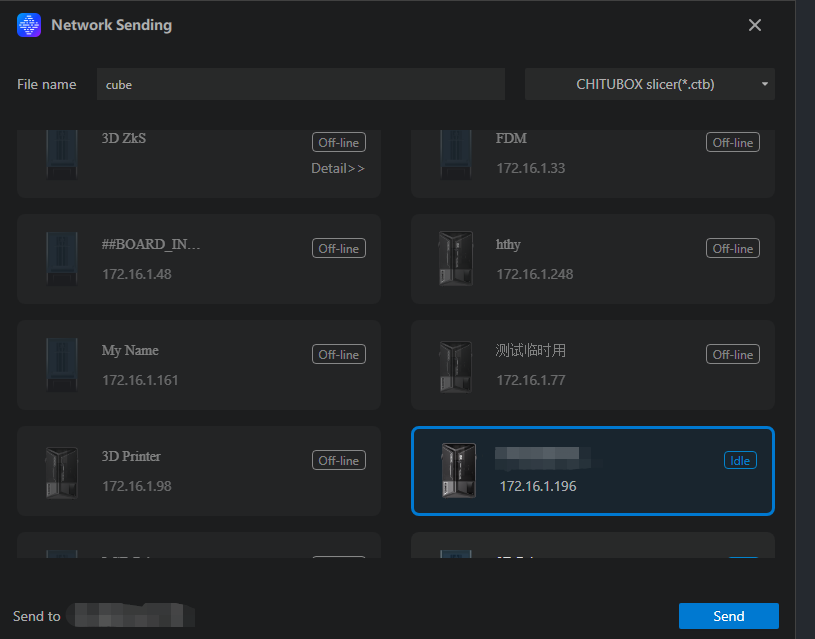
Edit the file name and choose the format for the sliced file. Then choose the printer you want to use from the printer list or the "My Printer" list. Click the "Send" button at the bottom right corner to start saving and transferring the file.
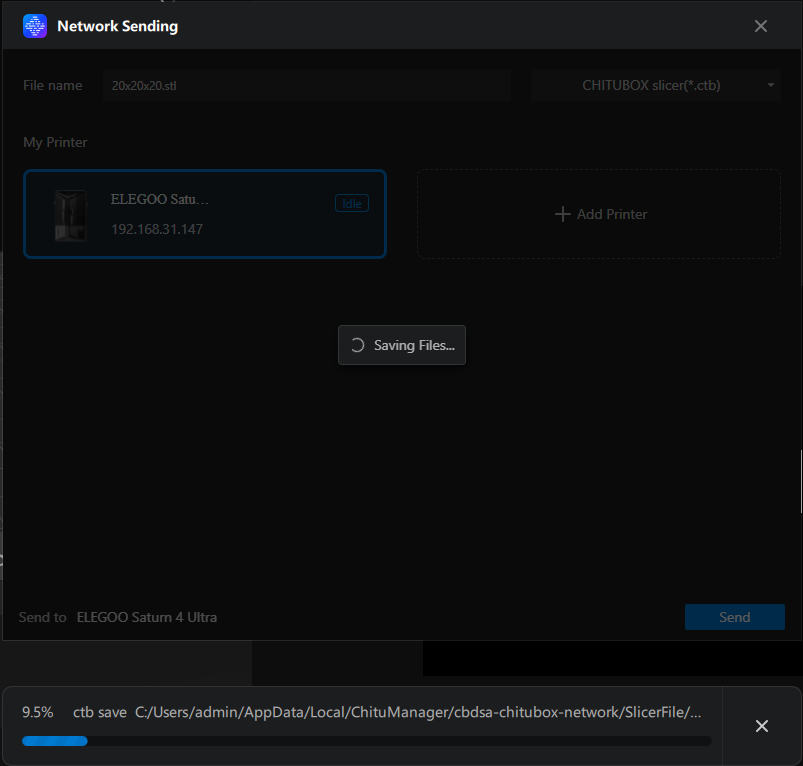
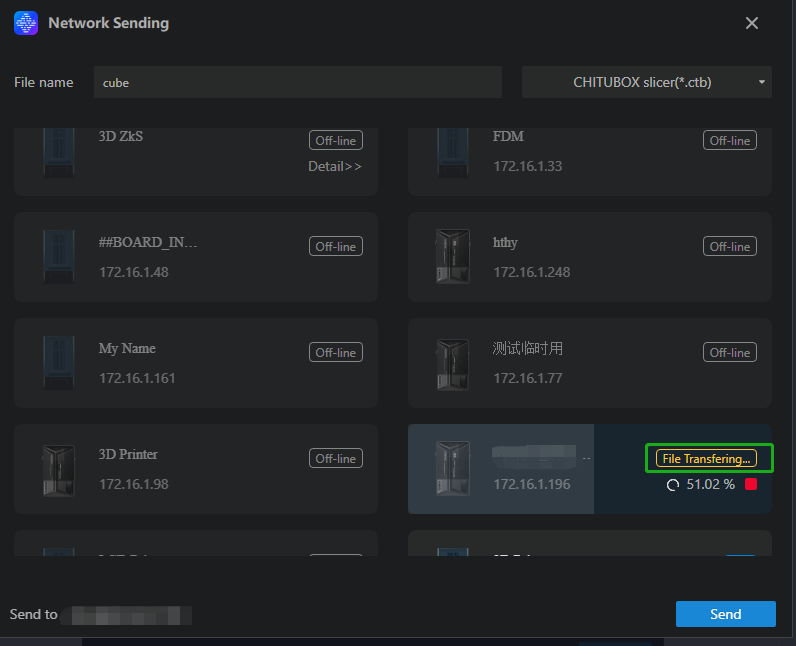
A temporary file is saved before transfer starts. This file is used during the transfer process and is automatically deleted when you close the CHITUBOX slicer.
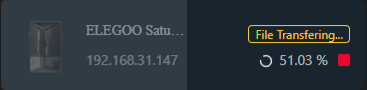
Once saved, the file will be transferred to the printer.
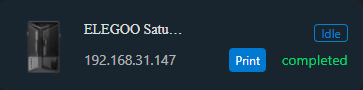
When the file transfer is complete, click the "Print" button to start printing.
If you run into any issues during the network sending, we have a handy FAQ section available. Click here to view it and troubleshoot any problems you might encounter.
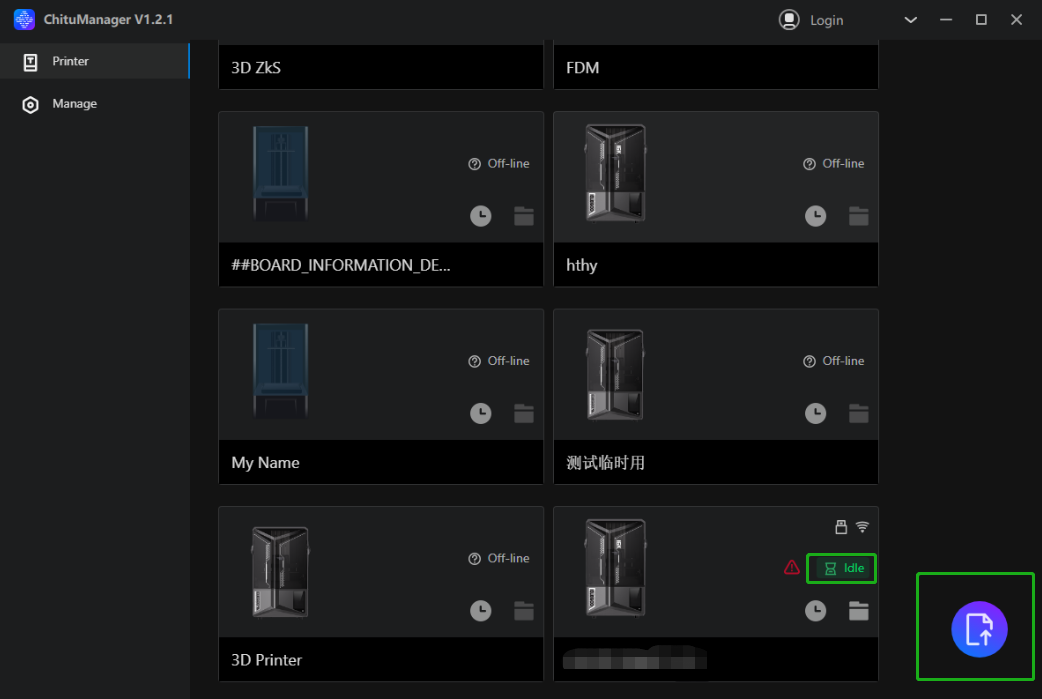
Sliced File Transfer
After preparing the sliced file, click the file transfer button in the bottom right corner to proceed with the network transfer.
Select the sliced file by clicking or dragging.
Choose the desired printer and then click the send button in the bottom right corner.
The file will be transferred to your printer.
Once the transfer is complete, click the print button in the printer to begin printing your file.
If you run into any issues during the transfe, youcan check our FAQ section for troubleshooting tips. Click here to view it.