Printing Preparation Conditions
Printing Environment
- The indoor temperature of the printing validation room should be consistently maintained between 18~28°C.
- The indoor ambient humidity should be controlled below 60%.
- The printer needs to be kept away from heat sources, water sources and vibration sources.
- Ensure regular air circulation in the room to minimize and avoid inhalation of resin fumes by personnel.
- The room should be kept in darkness or low blue light conditions. It is recommended to use a low yellow light. During the entire printing process, ensure that the printer's light-shielding cover is fully closed.
- The power supply should meet grounding requirements and should not share a circuit with high-current devices. Ensure the stability of the power supply voltage during the printing process.
- Do not place water, alcohol, or other volatile solvents in the printing room to avoid interference with the print quality.
- The supply voltage and current should strictly follow the printer's power requirements.
Printer Setup
- Install the printer on a hard, level surface.
- Check and confirm that the FEP film is intact, clean, and properly tensioned.
- Ensure the light source and display device are functioning correctly.
- Verify that the light intensity values are appropriate when the light source and imaging area are fully illuminated during normal use.
- Ensure the imaging work area and the FEP film are clean and free of impurities.
- Verify that the printer platform is securely locked.
- Ensure there are no residual objects on the printing platform.
- Confirm that the printing platform is level.
- Ensure the resin vat is correctly installed and locked.
It is necessary to conduct light intensity sampling test following item 4 above as part of the printer verification process.
The light intensity measurement device selected for the light intensity sampling test needs to strictly follow the devices' corresponding instructions in order to acquire accurate light intensity value.
The light intensity measuring device should be calibrated according to the specific wavelength used by the printer.
For selected printer products, measure and record light intensity values at fixed intervals as illustrated. Ensure the light intensity measuring device is fully adhered to the imaging surface. Measure and record the light intensity values five times at each specified point and calculate the average value.

The above content is mainly for the preparation process of pull-up photocurable 3D printing, and does not include the preparation instructions of bottom-up printers.
Printing Materials
- Check and confirm that the printing material is normal and not expired.
- Ensure the resin in the vat is well-mixed and free of impurities.
- Verify that there is enough resin in the vat to avoid overflow during printing.Preparation of Printing Documents
Preparation of Printing Documents
Model Layout Preparation
Single Model Layout
For repeated parameter adjustments and layout tests of a single model, ensure the model is positioned consistently relative to the same printer. Refer to the example position below.
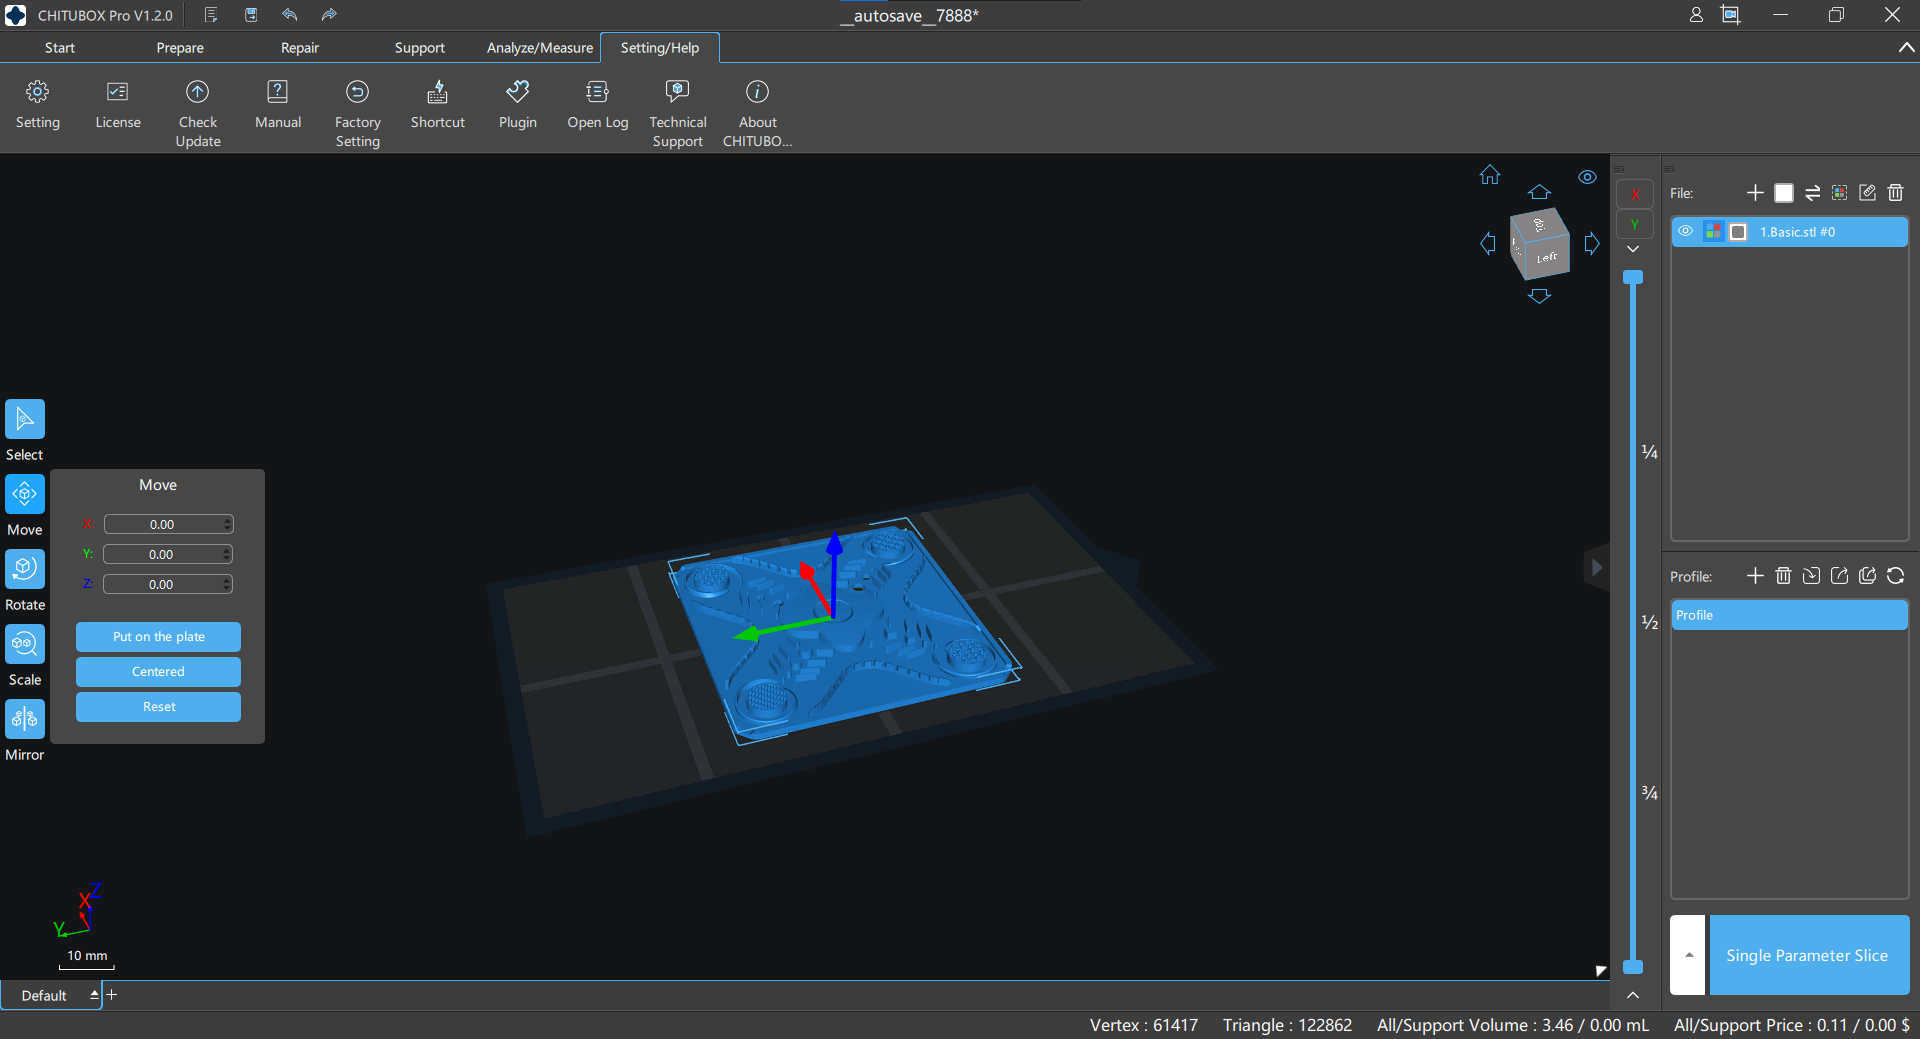
You can select the model to trigger the move button and click on the model to view and confirm its position relative to the platform.
Multi-Model Layout
For repeated printing tests of multiple models, ensure the models are consistently positioned relative to the same printer.
Adjustment Of Support Parameters
Some test models include CHITUBOX's coarse, medium, and fine support models. These effectively test the validity of support contact point spacing parameters. Other support structure parameters can be tested through secondary editing and setting of the model support structure.
Printing Parameter Settings And Preparation
Detailed printing parameter setting instructions can be seen on 📖user manual.
The table below outlines how different printing parameter settings in CHITUBOX Pro software affect print files and outcomes. Use this as a guide to optimize printing parameters.