Gadgets
In this section, we will introduce some useful gadgets in CHITUBOX.
Toolbar
The toolbar is located on the left side of the main window. It contains five tools: select, move, rotate, scale, and mirror.
Select
Select objects on the screen by clicking.
Select objects in the scene by draging-selecting.
Move
The move tool is used to move selected models. Move objects precisely by entering coordinates in the move panel.
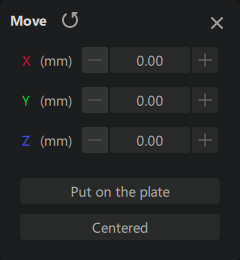
-
Put on the plate: Place the selected model on the print platform based on its lowest point.
-
Cetered: Center the selected model on the print platform. Multiple objects within selection will be centered based on the center of the group.
Rotate
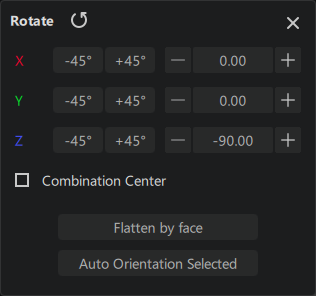
Rotate selected models. Rotate objects precisely by entering angles in the rotate panel.
-
Combination Center: Rotate around the center of the group of selected models.
-
Flatten by face: Place the model on the platform based on the selected face.
-
Auto-orient selected models based on built-in algorithm.
Scale
Scale selected models. Scale objects precisely by inputting the scale size or ratio in the scale panel.
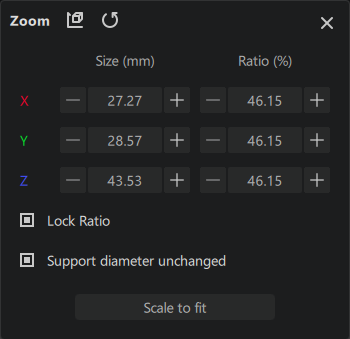
Global coordinate: Scale handles are parallels to the global coordinates.
Local coordinate: Scales handle are parallel to the model's local coordinates.
Reset: Reset the scale to 100%.
-
Lock Ratio: If enabled, the X, Y and Z dimentioned will be scaled proportionally.
-
Lock support diameter: If enabled, the support diameter will not be scaled.
Mirror
Mirror selected models on the platform.
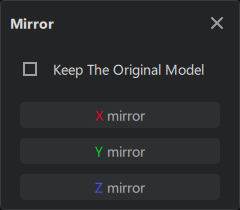
- Keep the original model: Preserve the original model in the mirror action.
Info Panel
The Info Panel is located in the lower left of the main window. It contains basic information of current print settings.
Machine Management Bar
The Machine Management Bar is located at bottom of the main window. Here you can add, delete, and copy printers.
Click the add machine button to add a new printer.
Click the menu icon , and you can see options to Hide Platform, Copy Machine, and Delete Machine.
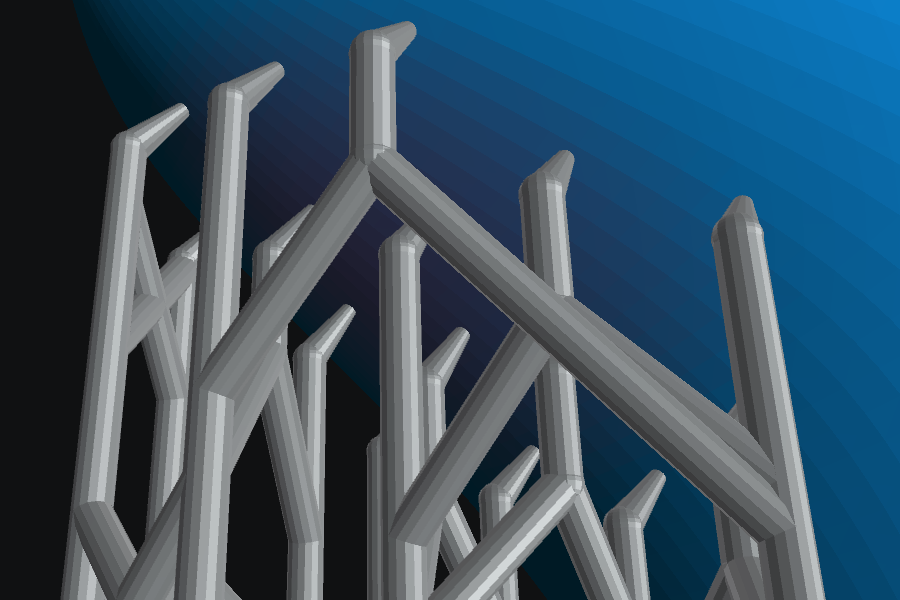
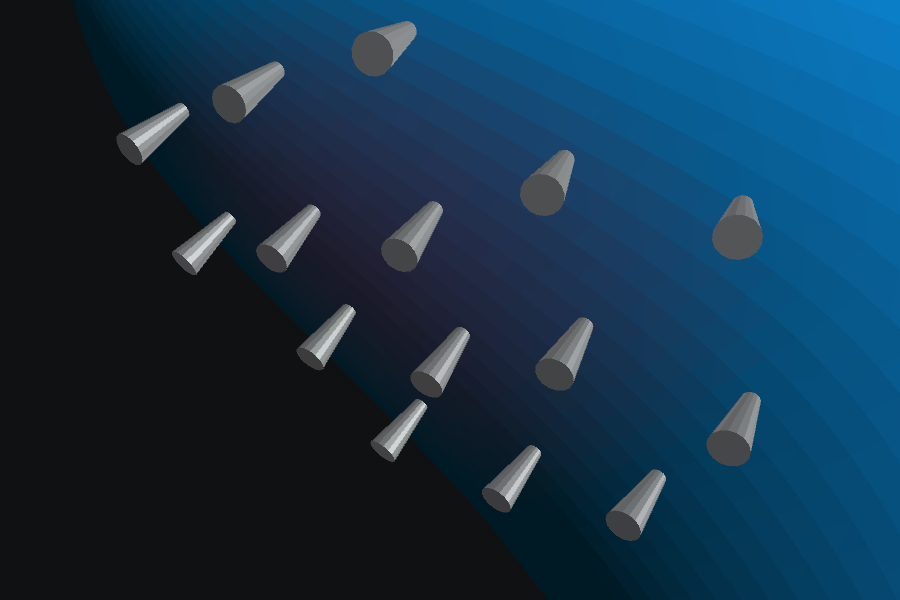
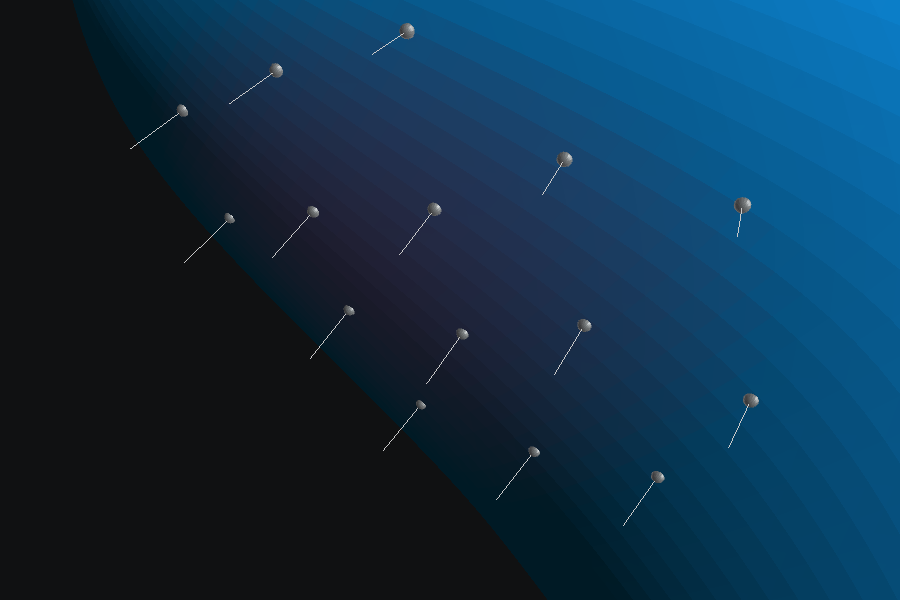
Support Display Mode
Click to switch to the support view. There are 3 buttons allowing you to switch between different support display modes.
Display full supports.
Display top of supports.
Display tip of supports.
Render Mode
Rending mode options are located in the upper right of the main window. It contains two modes: Details and Fresnel.
In Details mode, the model shows more details on the surface.
In Fresnel mode, the model appears smoother on the surface.
Viewport Gizmos
Viewport Gizmos are located in the upper right corner of the main window, providing an intuitive way to quickly manipulate the view, enabling users to quickly change the angle or perspective of the viewport, and facilitating the inspection of the relative position of objects.

The Home icon and the Perspective / Orthographic icons are located at the upper-right of the main window, next to the viewport gizmos.
The Home icon allows users to reset the viewport to the default view. The Perspective/Orthographic icon allows users to switch between Perspective and Orthographic views. Perspective mode provides a more realistic view of the scene, while Orthographic mode gives users a flat view of the scene. Changing the view model can help users to assess the position of objects on the build plate and make adjustments as needed.
Slider
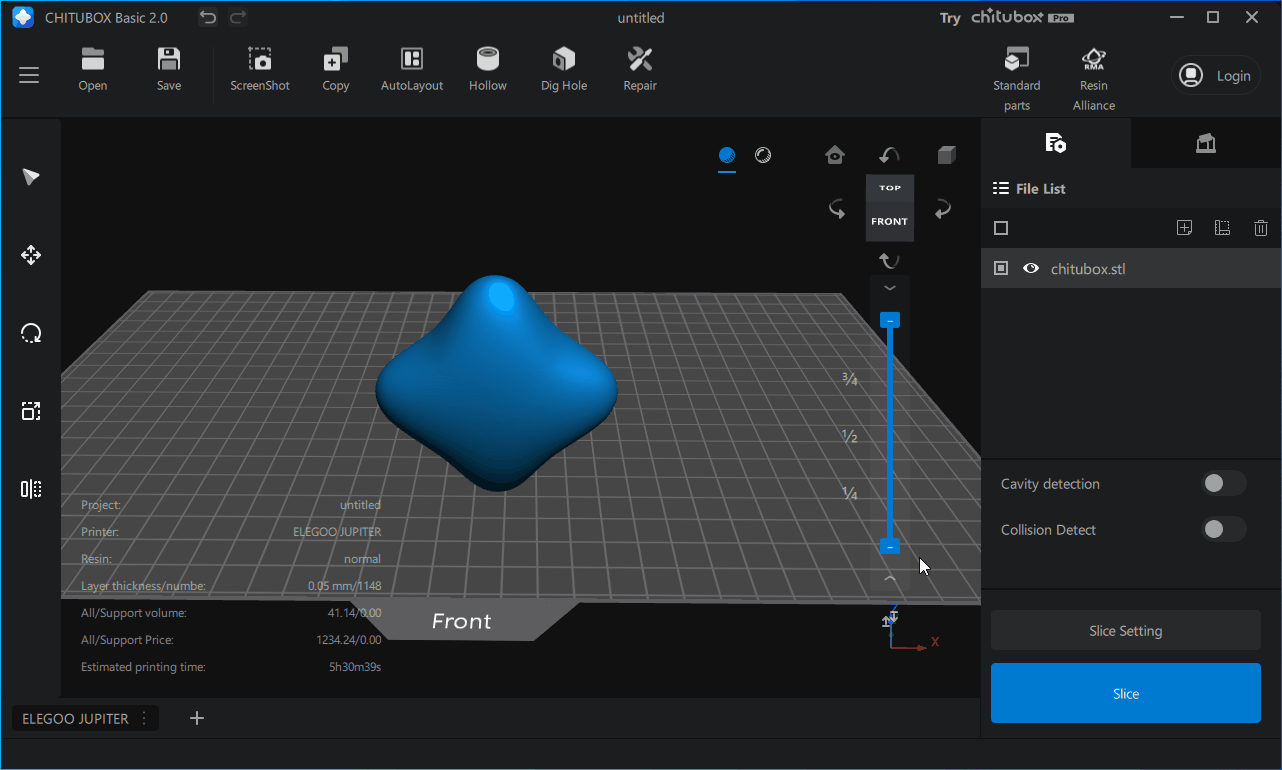
The slider is located at the right of the main window, used to preview the sectional area of models (pre-slice) and layers of models (post-slice). The slider has two buttons on the top and bottom for animating the slider position. The reset button on the bottom resets the slider position to the default levels. The slider component can help users assess the quality of the 3D model before it is sent to the printer, allowing them to make adjustments as needed.